Sunday, 30 April 2017

DIY Accessories | Cat Tote Bag

Bet you didn't know you needed a cat tote bag......

| WHAT YOU NEED |

Tote Bag / Felt / Wool / Fabric Glue


| HOW YOU MAKE IT |
This is an easy, quick make with no sewing required - it also comes in at under £5, makes a great shopping accessory or gift and....cats.

Before starting any of the steps and to prevent the glue from sticking your tote front and back together, place a plastic bag or sheet inside your bag.

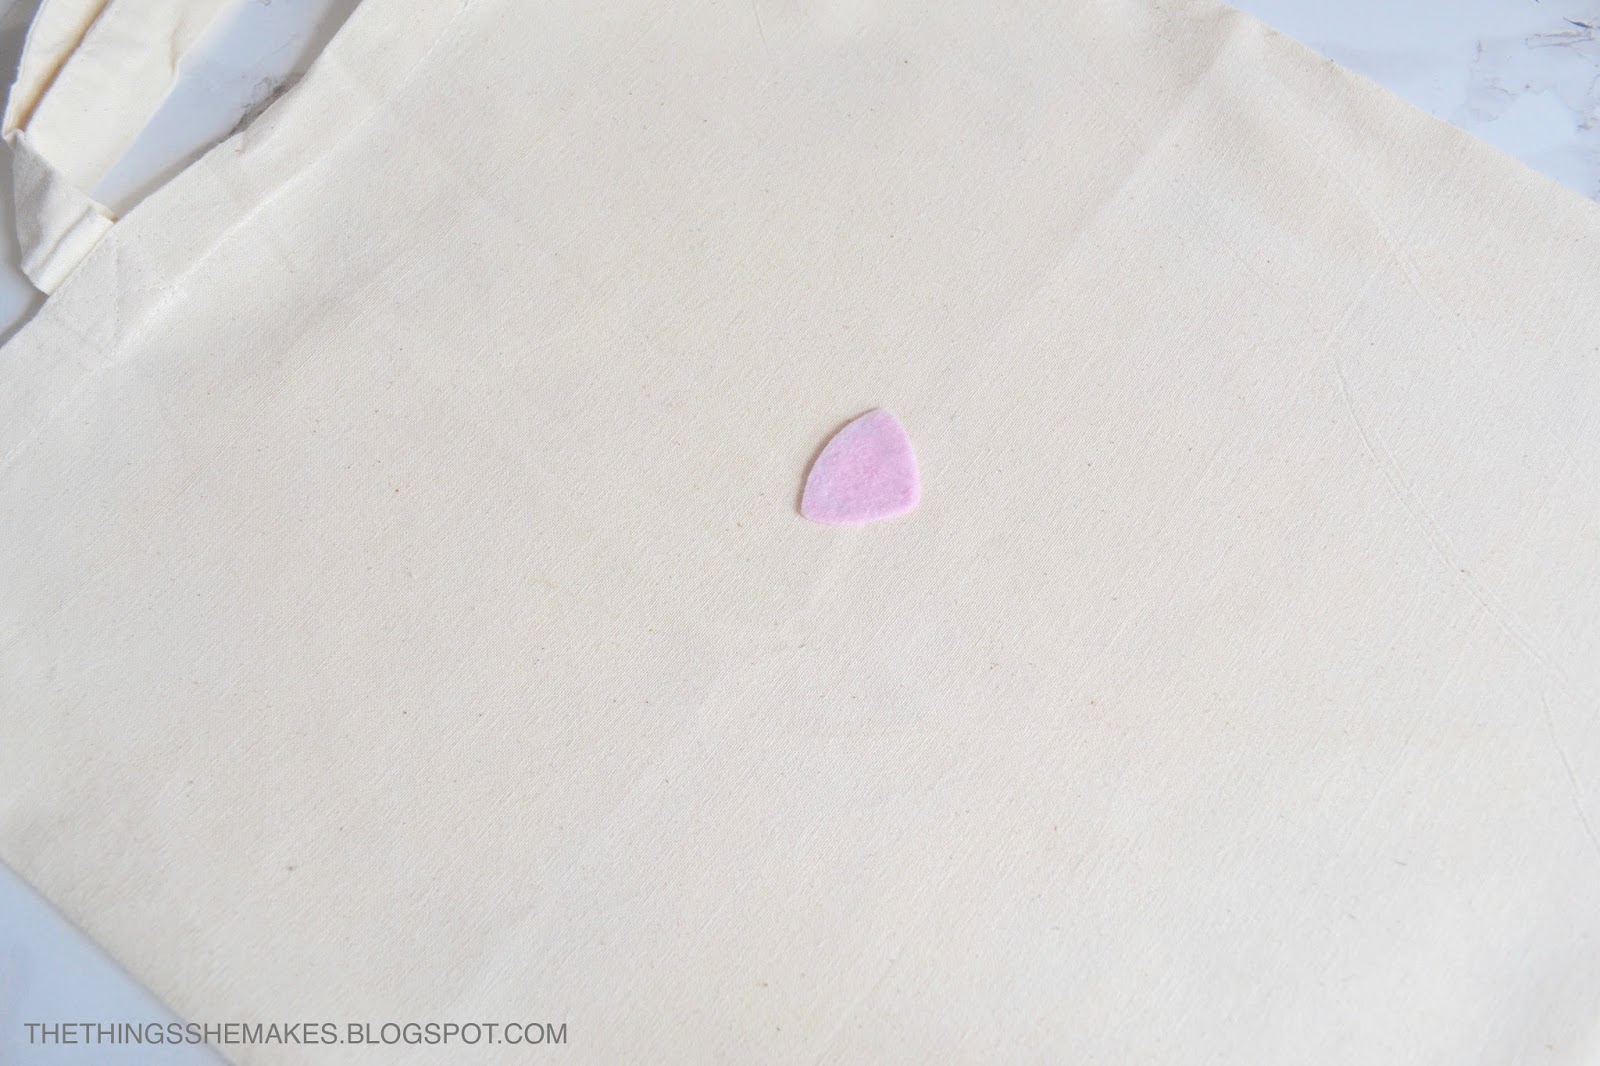
For the simplistic design, I used felt for the main features, the nose and ears.  Draw your size and shape of nose, cut out and then fix in place with a healthy amount of fabric glue:
With short lengths of grey wool, I cut my whiskers.  To fix them in place with minimal mess, I used a brush to coat the wool and then pressed in place, keeping the wool taut.
As the whiskers dried, I cut my ears - 2 identical shapes for each ear.  These will be fixed in place, sandwiching the top of the tote to help provide some stability and keep them standing up.  Apply lots of fabric glue to also help with this!
Now leave your bag to dry completely......
...before proudly using and making shopping that bit more fun:

Share:

Sunday, 23 April 2017

DIY Home Decor | Phases of the Moon Art


| WHAT YOU NEED |
Clay / Cutter / Sandpaper / Paint / Frame / Glue Gun

| HOW YOU MAKE THEM |

There is a little time dedicated to this DIY - mainly 'waiting to dry' time, but the actual making part is completed in a couple of hours.  I staggered this make across a week as a WIP to complete in sections.

The first stage is cutting your clay 'moons'.  I rolled out some white air dry clay to 0.5cm thickness and cut 8 circles using a jar lid.  Remove the excess, transfer your clay to a sunny spot and leave to dry for at least 24 hours - remember to turn the clay at fairly regular intervals to prevent any warping or curling at the edges.

When completely dry, smooth the edges and sides with fine grain sandpaper.  You can smooth the surface too, but I loved the bobbly finish the clay gave, all adding to the moon appearance:
I decided on a [rather unsurprising] colour palette of white, grey, silver and gold for my moons - white for the phase, grey and silver for the sky and gold for the moon detail.  I googled some images and used them as my phase guide to paint the relevant sections of each circle to show the moon and sky with a couple of coats and then left to dry completely:
I then added some detail to the sky, making as much mess as I could by adding some silver paint to a dry brush, removing the excess and then quickly using my finger to flick the paint over the grey paint.  Vary the distance away from the clay to create smaller and larger speckled stars:
To create a similar effect for the moon, trace the moon/sky lines with pencil and paper to create paper covers and protect the already painted sections.  I then used gold paint to create a speckled surface:
To create a little depth and consistency, I then marked the full moon with some larger details, made with the handle of the brush, and then created the same details on the two corresponding moon faces:
When complete and dry, you can protect and seal your moons with a coat of clear varnish [I use a spray for a fine, even coat.  Then you can display your moon phases.  I opted for a simple linear design, but you could arrange your phases in a circle, or even display as a hanging.
My frame is from IKEA, and I removed the glass to create a box frame effect, simply arranging and securing my moon phases in place with a glue gun:
Ready to display!
You can easily match the colours of this DIY to your space and decor.  I'm not completely sure I will leave this as it is - I think a thin border in colour and maybe a 'phases de la lune' in handwriting would lift it a little......
see you next time x
Share:

Sunday, 9 April 2017

DIY Home Decor | Neon Letter Bookends

Want in on the neon trend in 30 minutes? This DIY takes almost no time at all and the effect is pretty awesome.

| WHAT YOU NEED |
Neon Lights / Wire / Wire cutters / Drill / Wooden Letters / Tape


| HOW YOU MAKE THEM |

The neon light trend isn't going anywhere and I was keen to get some of that into my home  in a subtle way, without committing to an art piece [though, after this DIY, I think that's not too far away!] 

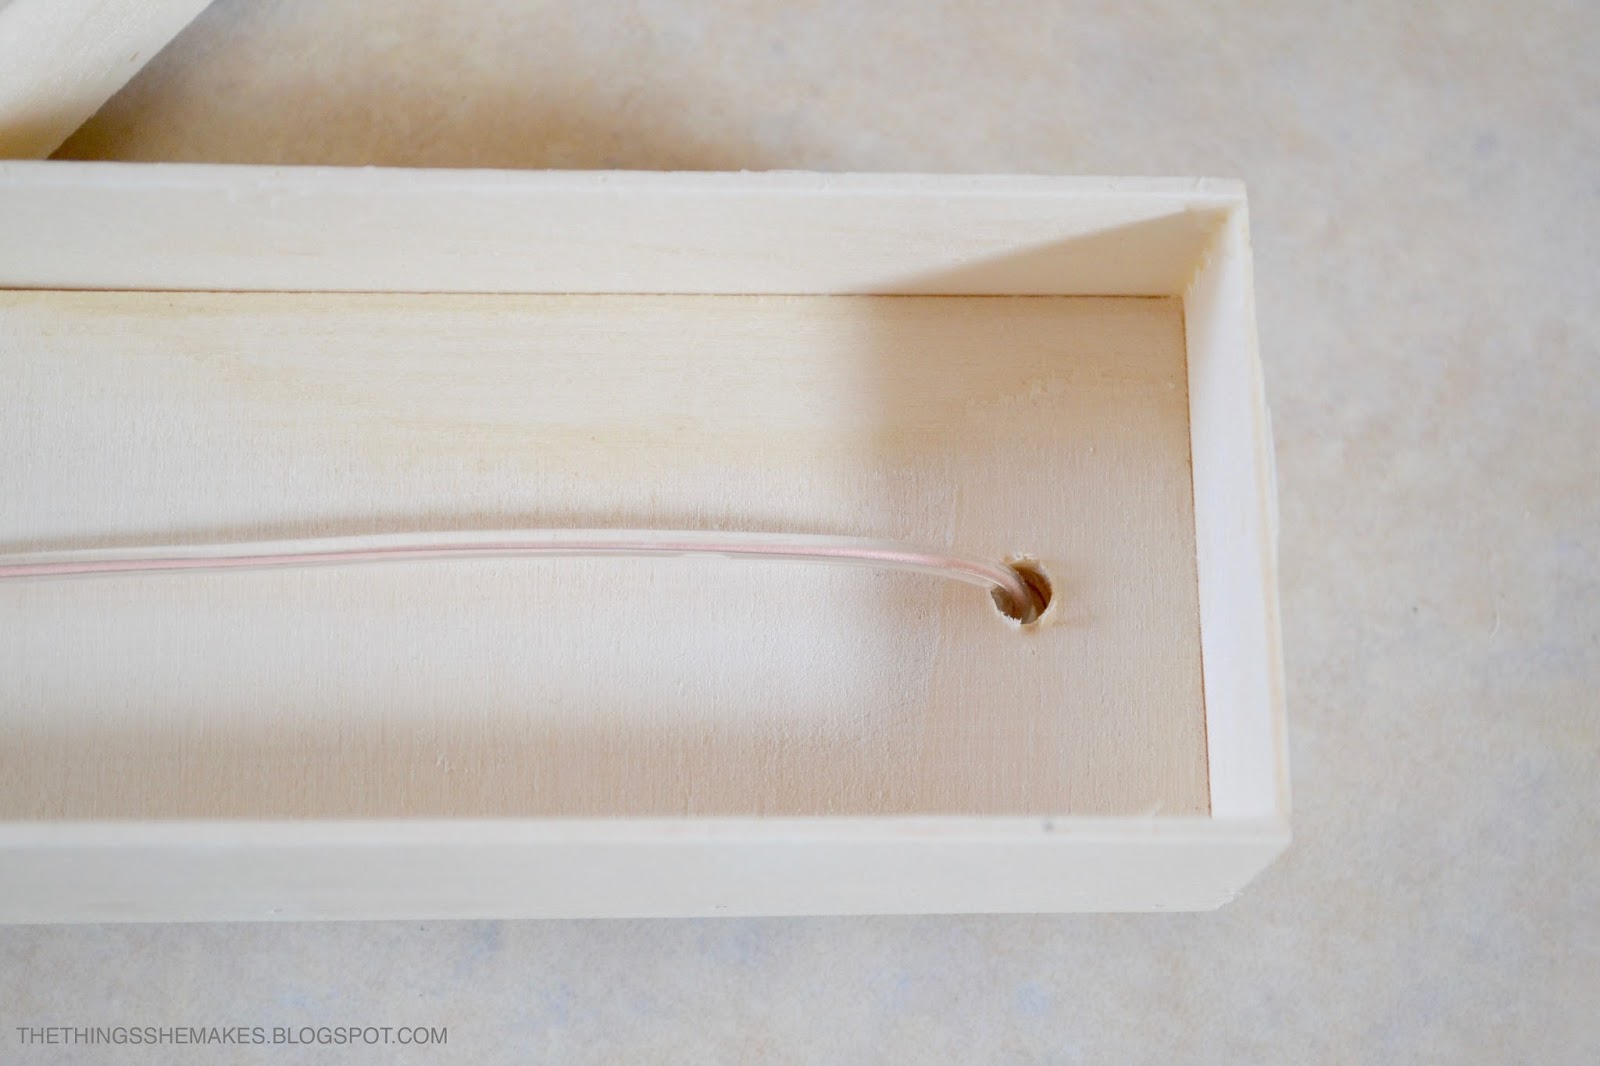
To create the effects of a traditional neon light, I threaded my lights to hide the backings, or shapes the light strip with wire at joining points in the letter.  To do this neatly, I drilled holes in each of the connecting points, large enough to thread my light through.  You will also want to think about where the wires may join, or need to be stretched between letters, where the on/off switch will be placed and where any wires may or may not be visible.
For the 'A', I had the light threaded in through the bottom right hand corner, the light held in place to change direction in the top right, again in the top left and threaded through at the bottom left.  The light was then threaded back in and to the back across the middle. 
The 'Z' was even simpler - a point to thread in at the top left, held in place at the top right and bottom left and thread out at the bottom right.
Mark the letter where these points need to be in pencil before grabbing a drill and making your holes:
Check that they are big enough, before neatening them up with a little sandpaper [make your holes by drilling the wood from the exposed side, so that if any splinters are caused, they will be towards the unseen side of the wood]:
Now you can thread your light:
[and check it works!]
To keep the light in place when it needs to change direction, simply cut a short length of wire to bend around the light and thread each end through the hole:
Keep the light taught to create straight lines and then twist your wire at the back and then flatten the ends to create a fix.
Keeping the wire taught, repeat at the next point of direction change and until the light is threaded out.  Here, hold the light in place with tape to make sure the lines you have created stay put and to neatly tidy any excess strip.
Repeat with the next letter, threading the light in at the nearest point to keep the wires neat and hidden:
My neon lights came in a set of 5, with only 2 being used, so I removed the spares and used my wire to bind the remaining cables together neatly.  Ready to display!

As my letters are being used as bookends, the wires can be hidden and tracked using wire organisers behind the books:
[but if yours may be more exposed, they can be wrapped together in tape to match the colour of the background surface they will rest on]
So if you have been tempted by the neon trend, but were looking for a smaller scale project - this might be the one for you: create names / phrases or acronyms - the neon world is your oyster.
Share:

Sunday, 2 April 2017

DIY Easter | Mini Egg Chocolate Nest Drip Cakes

I promise I didn't use this post as an excuse to buy all the chocolate.

| WHAT YOU NEED |
4 Cakes: 2 x Shredded Wheat / 100g Milk Chocolate / 40g White Chocolate / 4 x Mini Eggs

| HOW YOU MAKE THEM |

I think the only part of this DIY I need to explain is how I made the mould - and even that is incredibly quick and easy!  With a sheet of perspex plastic, roll the sheet to mark the length required and cut to the height you would like.  Cut two - and bring the sides together with tape.  They will form a teardrop shape, so wrap one around the other, with the seams on opposite sides to even the shape into a cylinder:
Mix up your chosen chocolate nest favourites - for me, it's Shredded Wheat, but rice krispies or cornflakes work just as well:

On a tray or plate that can be easily transferred to the fridge, use your mould to create 4 equal[ish] nest towers:
Pop them in the fridge until set:

 Let's decorate:
But before we do, a confession.  I had originally created these cakes with my favourite, Wilton Candy Melts.  They were a bright white in colour, and I had some left over from this post.  However; for a really good 'drip cake' effect, you need chocolate thats much thinner in consistency and that can be heated to a slightly higher temperature - so white chocolate is the best for this job [and I've known this all along with this DIY]:
 Can you see - just a little too thick for the effect I want - but something to bear in mind if you need a 'snow' effect! [Chocolate Gingerbread Houses......]  So, with a quick pop to the shop and milky buttons in hand, I covered the tops and then used the side of a spoon to create the drips:
Finish with a mini egg [or any mini chocolate egg of your choice]:


Perfectly mini, the ultimate Easter Egg Hunt prize and a level up from your traditional Easter chocolate nests!
Share:
© The Things She Makes | All rights reserved.
Blog Design Handcrafted by pipdig