
Today, I have the final DIY from my Metal Clay series - a little more freestyle and the necklace I made after feeling a little more comfortable using the clay: An initial pendant.
As with the triangle necklace, I created my own template to use as a guide:

I tried to draw the template as I would ideally like the clay to follow, but with the understanding it would be thicker and maybe a little less 'fine' than my writing! Bear this in mind when creating your template, allowing the design to cater for thicker lines [or even draw with a thick pen to make sure].
To start, create a thin sausage of the clay that will allow you to easily trace the lines of the template:

Unsure of how easily I could mould and shape the clay, I made this a little thicker than I would if I could make it again - though you can see, some cracks did appear where curves were made and the thickness doubled where the clay crossed over: 
Once I had created my shape, I started to attach the clay where it crossed over and flatten the overall appearance. I found the side of a toothpick did this job easily, with a little water to smooth the clay:


When dried, it had a real weight to it, though in my confidence with using the clay I don't think I 'finished' the clay in the same way as the earlier DIYs. The clay wasn't as smooth as others and I think, a little too dry when shaping.
I've got my excuses in early, as this is what happened after drying fully with the hairdryer and starting to sand the clay:

Using the same technique as the triangle necklace, I made a clay paste that I could use as glue to fix the two halves together. As this pendant was much more substantial, it did take a little longer to fix and I applied several coats to the clay just to make sure:


I left the finish slightly more matt than the previous designed, finishing my polish with a light sanding, which also created a lighter silver colour to the pendant:

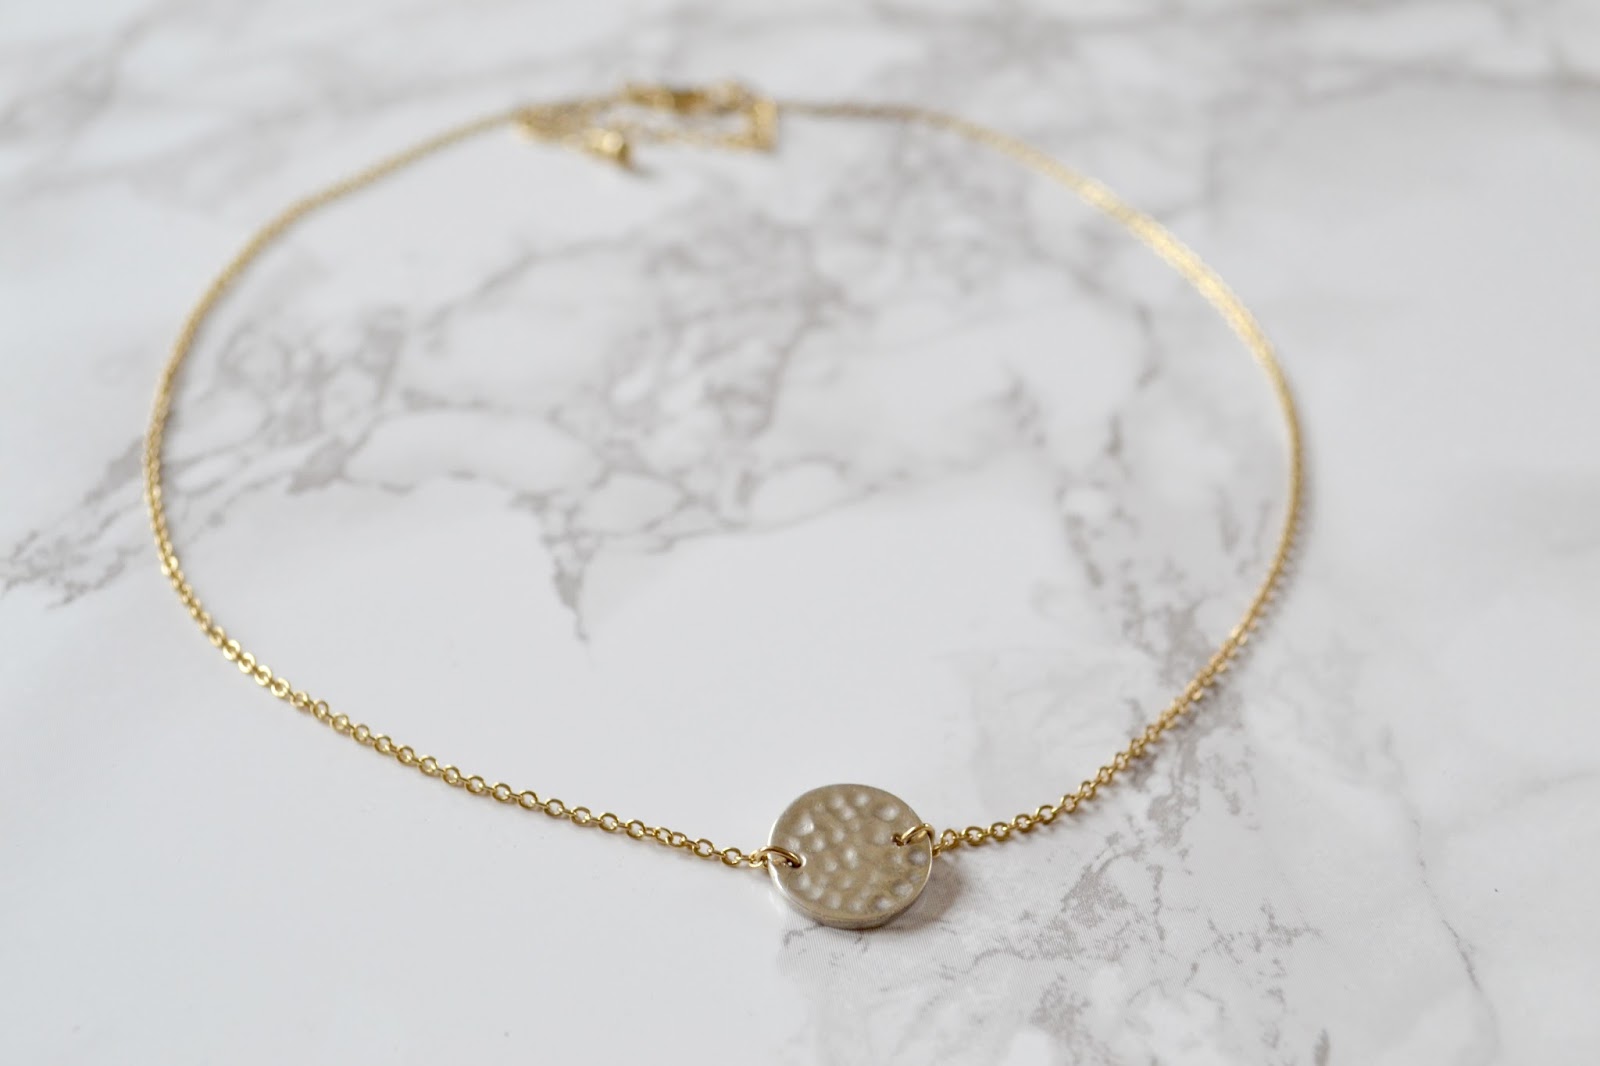
Looped through a chain, I was really happy with the finished look:

*update: giveaway now closed*
Don't forget to enter the giveaway! You can win a beginners kit and 7g of silver clay magic.


If women would be asked what gift they want for an occassion, they will surely choose to have jewellery.
ReplyDeleteCheck out our Pendant Base variety for the very best in unique or custom, handmade pieces from our online shops.
ReplyDelete