
Hello! Today, my post is an entry to the Hillary's Competition - I'm sure you've heard of it, but if not - here's a quick run down: Hillarys recently ran a competition in conjunction with their Country Retreat fabric collection. The task was simple - to pick a pattern from the range [100cm x 100cm] and then craft, cut, stitch and blog a creation made from the fabric.

For me, deciding the fabric was easy - I chose 'Calluna' - a beautiful mix of colour and a pattern similar to brush strokes,
with a confetti-like effect, spreading from the centre and becoming more and more dense to the edges.
I really wanted to make the most of this pattern and made sure I incorporated it in to challenge:

I also decided to set myself some rules/challenges for this:
- To use as much of the fabric as possible. This is a pretty major piece of fabric [1mx1m] and I was determined to make something that made the most of it.
- To challenge myself by making something completely from scratch. No pattern, no prior experience, I really wanted to make the most of this opportunity by sewing something I'd never sewn before [this isn't really too hard as I sew very little, especially by machine].
- Make something substantial for the home. As Hillary's is largely associated with blinds, curtains and interior furnishings, I decided to set myself the challenge of making something within the remit of interior furnishings.
After a little mull, my decided project was a result of my very small living space and huge lack of seating: Pedestals!
They could be used as seating, foot stools and tables - the perfect adaptable project. Here's how I did it.
Creating my template:
To make the pedestals work for multiple uses, I had to come to a compromise on size vs. fabric and created a circular template for the seat/top of 30cm in diameter. This would give me a large and sturdy top, would allow me to create two similar cuts of the fabric pattern and would also provide plenty of symmetrical fabric for the sides of two items. As I created the template from scratch, I used the old school technique of a 15cm length of string tied to a pen to create the template I needed on a cardboard box [I knew I saved them for something!]:

It was also really handy for having something fairly substantial to test if the size was right before cutting the fabric.
Marking and Cutting the fabric:
When you are limited on the fabric available to you, this is by far the scariest stage. If I cut the fabric incorrectly, I wasn’t going to be able to recover easily, so marking the fabric and working out template positions was key. The first step in marking my fabric was with the alignment of the centre of the fabric pattern and organising how I could best reflect the confetti/cascading effect - creating the top from fabric cut from the centre where the pattern was a little more sparse:

Marking the centre of the fabric pattern, I folded it into quarter lengths. This would allow me to cut two identical circles with very similar pattern ways. To ensure the fabric didn’t move and misalign the patterns, once it was turned inside out, I pinned it in place and then positioned my circle template on the centre fold, with the centre of the template matching the marked centre of the fabric, before marking with tailors chalk the outline:

I then made the first and scariest cut, giving a good 3cm extra for the hem line:


Phew. Next, on to the sides of the pedestals. The fabric now had been cut, with two large 33cm holes in the centre, leaving fabric of 35cm in height and 1metre in length either side. This was perfect for matching the pattern of the sides with the pedestal tops, a more sparse pattern towards the top, cascading to a heavier pattern at the bottom. Marking the 35cm height across the sides and going back to GCSE Maths to work out the circumference (94.2cm) and therefore length required, I cut my two side panels either side of the remaining fabric:


Sewing the Pattern:
I now had the tops and sides of each pedestal cut and ready to pin and sew. The fabric, although light, is easy to work with, but strong enough to withstand the need to stretch it slightly over some padding and with the circular shape that it will need to form around the top of the pedestals. With a slightly longer 3cm hem, this allowed me to secure the fabric in place with plenty of machine work to ensure the seams were secure and as a result, strengthened. I pinned in place slightly on a bias, so that the circular top would remain and then loosely hand sewed a running stitch to keep it in place. No hiding from it, it was time to dust off the sewing machine:


I can’t tell you how slowly and carefully I ran this first piece through the machine at first, but after completing, removing the pins and seeing that the seams were tidy and fabric had not bunched, it gave me confidence to complete the second pedestal top a little quicker! Once the top and side pieces were attached, I could secure the seam connecting the side panel together, creating the main column:

Details:
To tie the overall finish of the pedestals in with my sofa, I wanted a flush button top to the pedestals, so created my own
with the leftover cuts of the fabric:


Foam Padding:
To keep a uniform and neat shape, I used foam padding for my pedestals. Not something everyone necessarily has in storage, but something I inherited from an upholstery-project-gone-wrong and was perfect for this project. I had been well advised that the easiest method of cutting foam is using a bread knife - which I can now confirm is true and very therapeutic. Using the template I made for the pedestal top, I marked my required circle and set to cutting:


Creating the base:
To make the most of the fabric, I had to incorporate a different fabric mix to complete the base. The base would have more wear, but would also be required to help stop the pedestals from moving around when used as a seat, footrest or table. I used a thick and durable felt and I decided to create an overlap fastening, similar to a pillowcase. This would allow the foam padding to be added/removed easily and wouldn’t change the shape of the fabric or pedestals. To create the pattern for this, I used the same cardboard template as the pedestal top to create two semi circles, but added an additional length of 4cm to the second semi-circle to create the overlap:


To tidy the seams, I created a simple hem and to tie the fabric in to the base, I finished the opening hem with a pressed line of the Calluna fabric:

Finally, pinning and securing in place, I attached the bases to the sides and machine sewed in place:

Adding the foam padding, my pedestals were complete:


I really enjoyed making these and trying something from an idea, incorporating a fabric pattern, creating my own
pattern, seeing it through and creating something pretty and functional for my flat:
pattern, seeing it through and creating something pretty and functional for my flat:
...and in my attempt to use up as much of the fabric as possible, this is what was left:
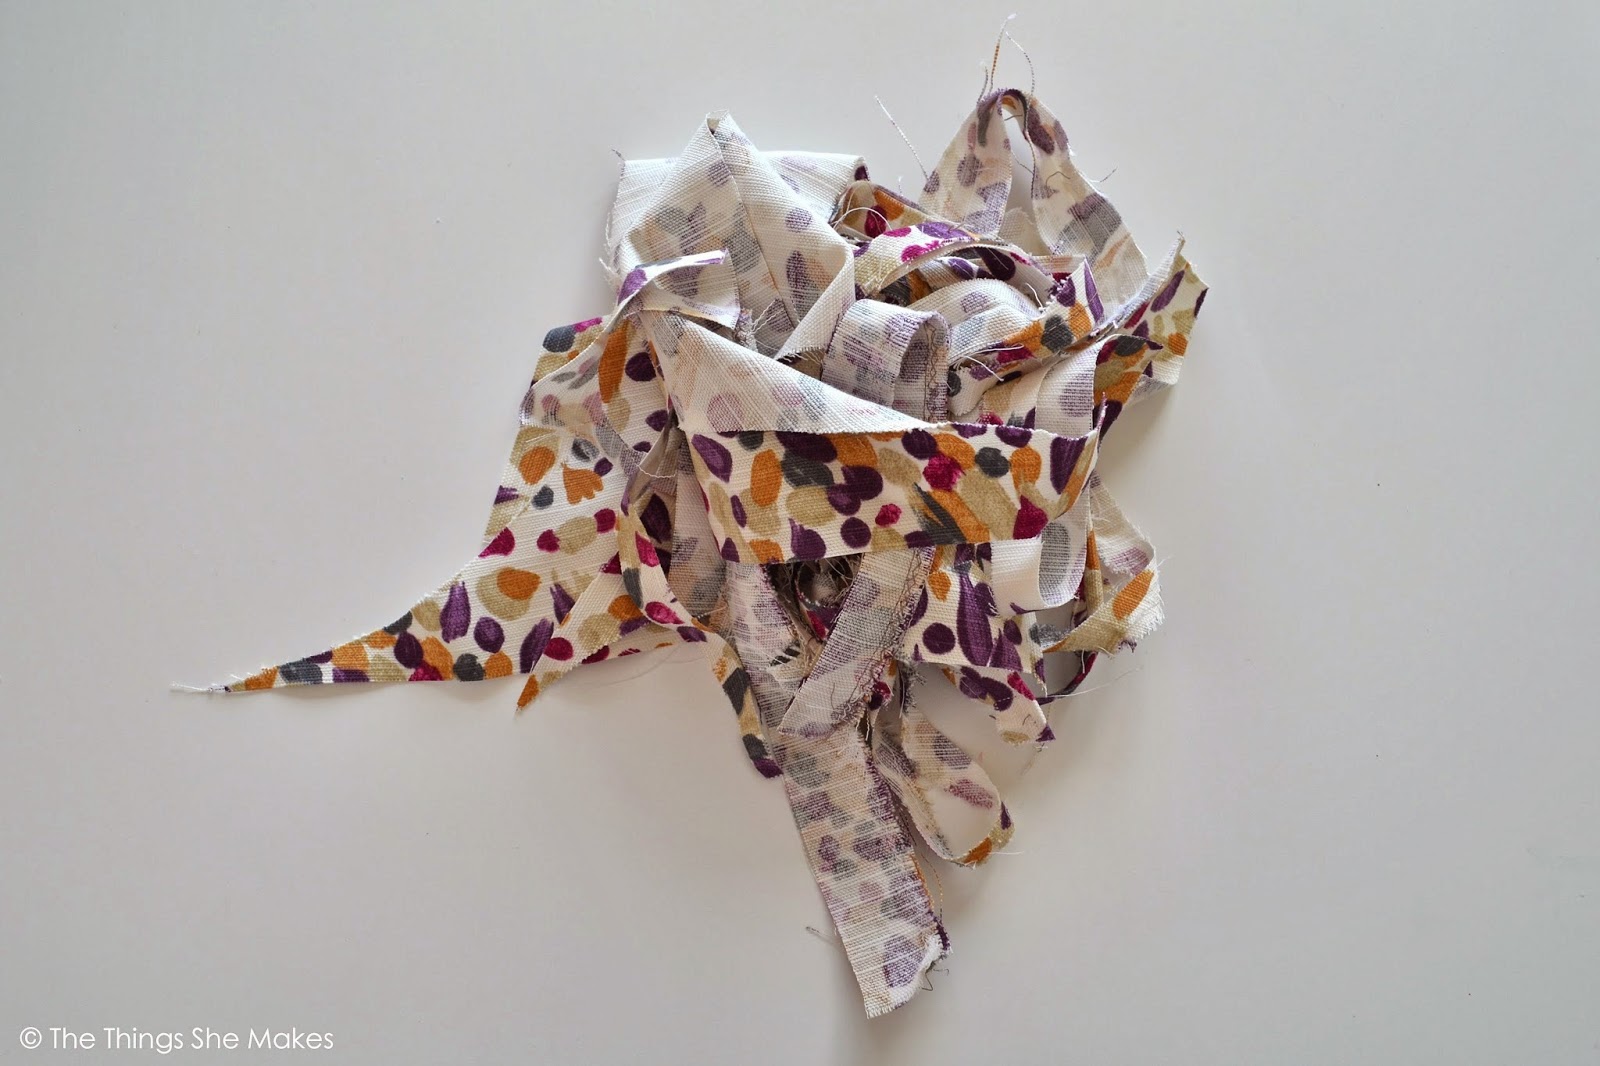
....I think I can make myself a fabric flower brooch from that.


