Want in on the neon trend in 30 minutes? This DIY takes almost no time at all and the effect is pretty awesome.
| WHAT YOU NEED |
Neon Lights / Wire / Wire cutters / Drill / Wooden Letters / Tape
| HOW YOU MAKE THEM |
The neon light trend isn't going anywhere and I was keen to get some of that into my home in a subtle way, without committing to an art piece [though, after this DIY, I think that's not too far away!]
To create the effects of a traditional neon light, I threaded my lights to hide the backings, or shapes the light strip with wire at joining points in the letter. To do this neatly, I drilled holes in each of the connecting points, large enough to thread my light through. You will also want to think about where the wires may join, or need to be stretched between letters, where the on/off switch will be placed and where any wires may or may not be visible.
For the 'A', I had the light threaded in through the bottom right hand corner, the light held in place to change direction in the top right, again in the top left and threaded through at the bottom left. The light was then threaded back in and to the back across the middle.
The 'Z' was even simpler - a point to thread in at the top left, held in place at the top right and bottom left and thread out at the bottom right.
Mark the letter where these points need to be in pencil before grabbing a drill and making your holes:
Check that they are big enough, before neatening them up with a little sandpaper [make your holes by drilling the wood from the exposed side, so that if any splinters are caused, they will be towards the unseen side of the wood]:
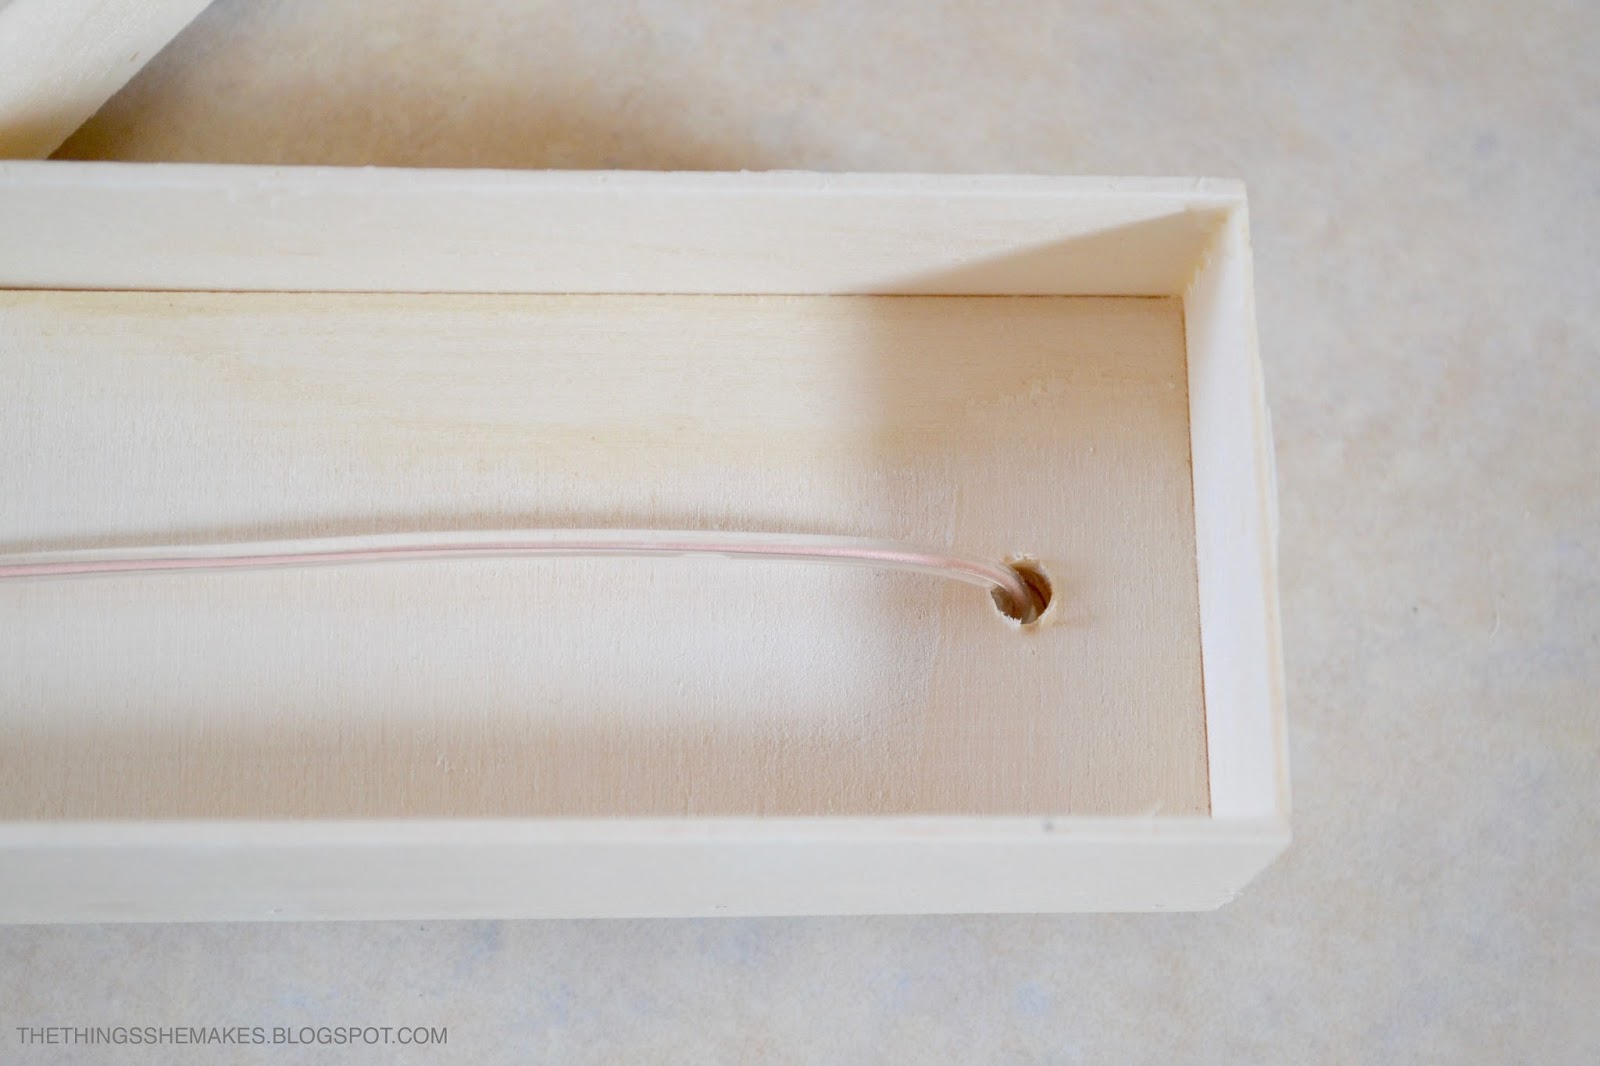
Now you can thread your light:
[and check it works!]
To keep the light in place when it needs to change direction, simply cut a short length of wire to bend around the light and thread each end through the hole:
Keep the light taught to create straight lines and then twist your wire at the back and then flatten the ends to create a fix.
Keeping the wire taught, repeat at the next point of direction change and until the light is threaded out. Here, hold the light in place with tape to make sure the lines you have created stay put and to neatly tidy any excess strip.
Repeat with the next letter, threading the light in at the nearest point to keep the wires neat and hidden:
My neon lights came in a set of 5, with only 2 being used, so I removed the spares and used my wire to bind the remaining cables together neatly. Ready to display!
As my letters are being used as bookends, the wires can be hidden and tracked using wire organisers behind the books:
[but if yours may be more exposed, they can be wrapped together in tape to match the colour of the background surface they will rest on]
So if you have been tempted by the neon trend, but were looking for a smaller scale project - this might be the one for you: create names / phrases or acronyms - the neon world is your oyster.


Thank you for this kind of great information.
ReplyDeleteพนันUFABETเว็บหลัก