
Today, I have a very quick and versatile project should you be loving the weather, but not the effect it may have on your/your children/anyone you know hair. Here’s how to dress up your up-do using the bow template DIY I posted a few weeks ago.

I used felt for my bows, but any fabric of your liking will work – the thinner the material, the less structured the bow, so you can also make this as casual or formal as you like with the fabric choice.
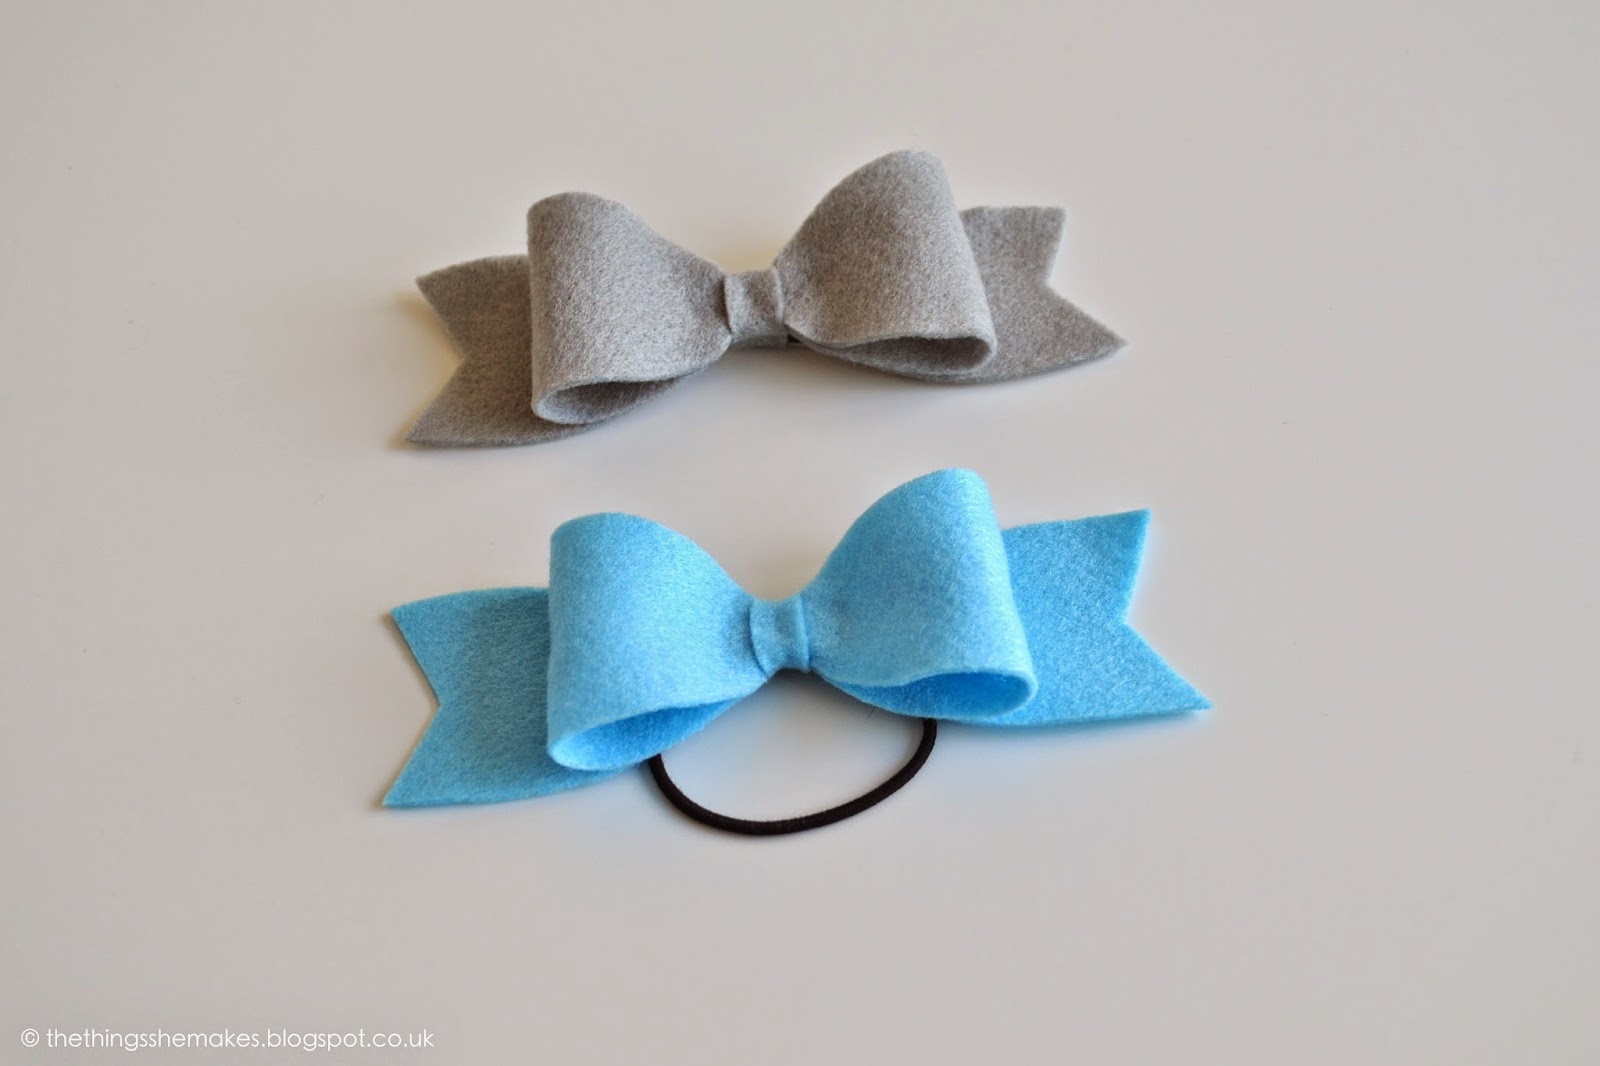
Start by printing the bow templates and cutting the design you like – I went for the larger, fuller bow [template 2] and cut my felt to size:

To fix it all together, I used my glue gun [you can see a review here], but fabric glue or sewing your pieces together will do the trick just as well:


[I added glue to the underside of the bow, fixing to the tails to help keep the structure and shape – the hot glue acts like a strengthening rod, holding the felt in place exactly how it is laid to dry].

Finally, I attached my bow to a hair tie – I decided to secure this in place with a needle and thread:


Alternatively, attach to a hair slide, or a grip – I added a small round of felt to the back of a bow to create a loop for the grip to hold on to:


If you have a headband, bandana or hair clip, pretty them up too by adding a bow.
See you next time x
These are so cute and easy, Thank you for sharing !
ReplyDeleteWell, I read this blog and our wigs are made of warmth-resistant and Hair wigs Manufacturers outstanding artificial fibers. we provide the ever-desired bouncy and clean look with out faux shine. your customers can wash
ReplyDeleteSee more: Laylawigs.com
ReplyDeleteGreat content as always! I love how easy you make complicated topics. Keep it up.
ReplyDelete