
Recreating a bit of seaside decor with the help of Ikea jars, some jute rope and a scrap of fabric.
What I Used:
Ikea jars
Jute rope
White pleather fabric scrap
Findings / pliers
Glue gun / scissors

Making over the Ikea kitchen jars in to lanterns is simple and you can adapt this DIY to colours and materials that suit your home decor / garden style. To create a rustic style, I chose jute rope - it's both durable and cheap [I picked mine up from HobbyCraft] and wrapped the bottom half of my jars with it.
Start by placing the jute rope at the highest point of where the wrapping will reach - lay and temporarily fix the end of the rope at least half way down jar [if there is a back to your jar, try and align it with this]:

Begin wrapping the rope around the jar, working your way down and overlapping the temporarily fixed end of the rope to keep it securely in place. Before completely covering the end, remove the temporary fixing and then continue wrapping until you reach the bottom:

...once the bottom is reached, wind the rope until it overlaps and cut the excess, securing the end temporarily in place:

With clear, strong glue, or a glue gun, fix the end to prevent it from fraying and then glue in to place:


Next, I decorated the top by winding a single round of the rope, securing the two ends together with glue to prevent any fraying and to hold in place:


To create a lantern style, I wound two measures of rope together, twisting in place and then securing this with glue so that they didn't unwind:

I used left over fabric scraps from this DIY to add a finishing touch to the ends. Gluing the rope together to hold everything in place, I wrapped a cut of the fabric tightly around, about 1cm from the ends. More glue helped this all in place, but you could also add some needlework here too - repeat on both ends:


To neatly finish the handles, I then cut the rope ends flush with the fabric. The glue meant that the cut was clean and didn't then create any fraying:

To attach the handles to the lantern, I used a single strand of the jute rope to create a loop at either end. The glued ends come in handy again as they help hold everything securely in place and allowed me to thread through the rope and knot in place, rather than threading within the rope, with the possibility of the loops coming loose or falling out. I started by knotting the strand of jute and threading from just below the fabric, through the top and then back through, securing with a knot:


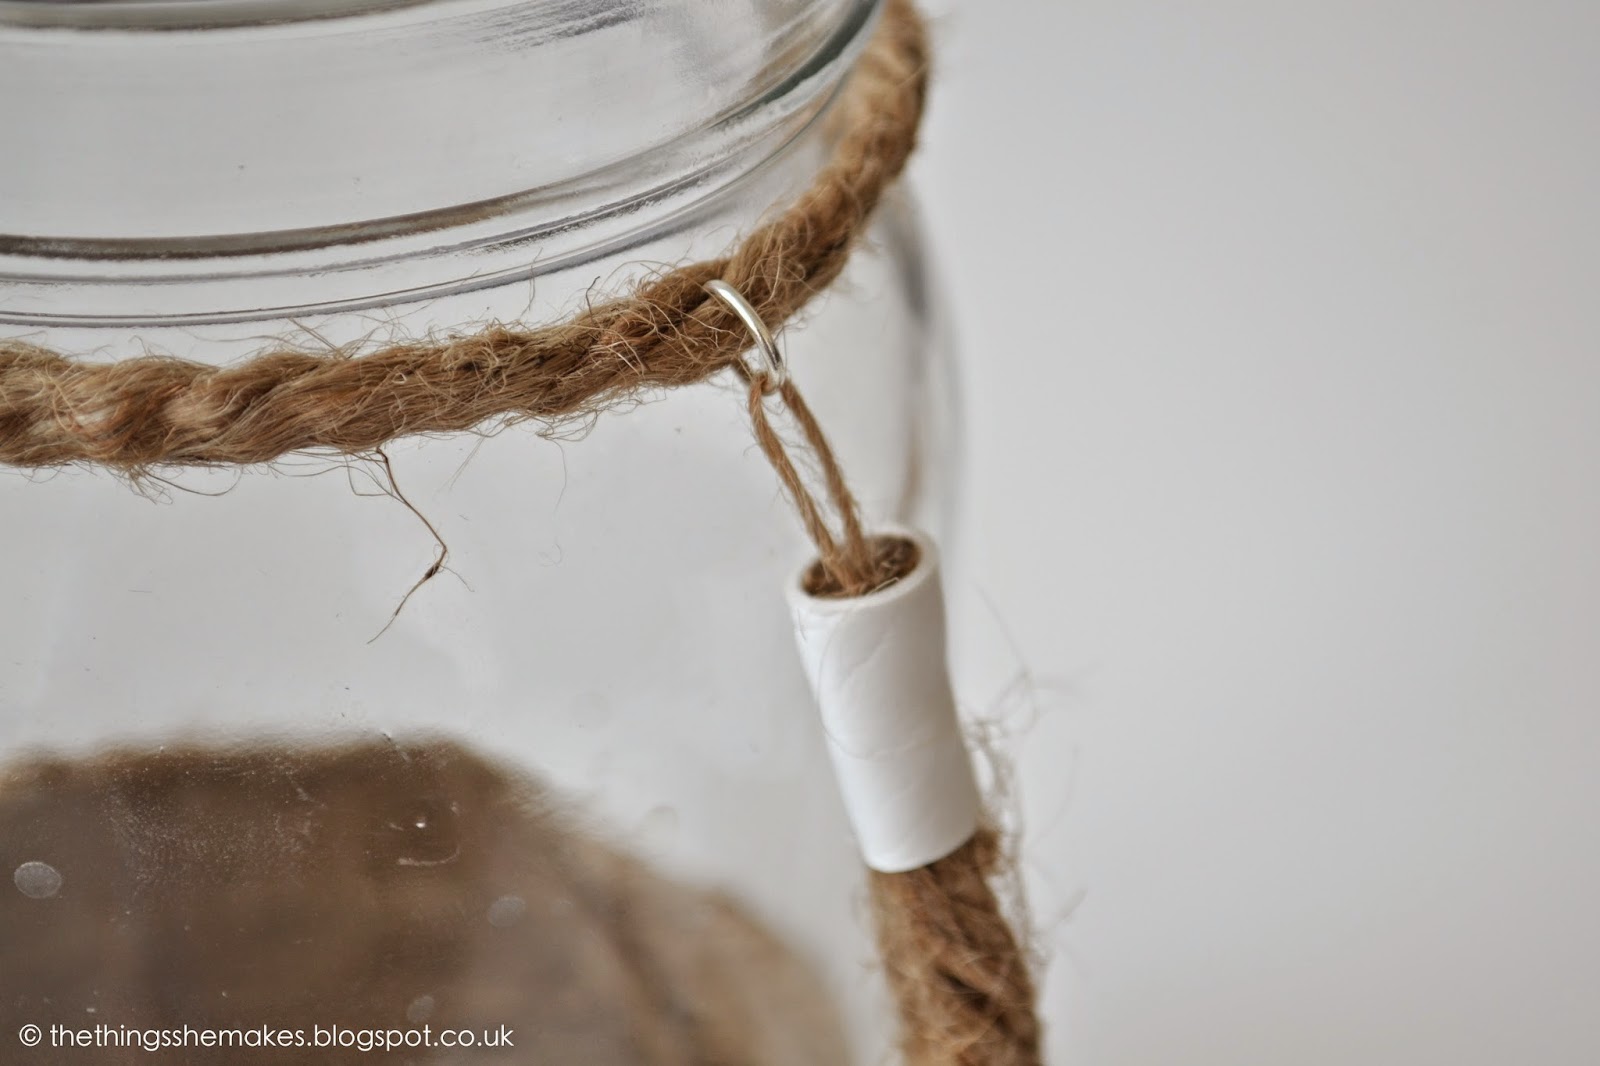
To attach the loops and to keep the seaside-lantern style, I used jewellery findings to attach the handles to the rope wrapped around the top of the jar:

....and the lantern is complete:


They make great accessories, tealight and candle holders, storage lanterns and vases:


...and any jar can be adapted to this style with a little rope:


see you next time x
Another fab DIY, I am always a fan of jar crafts too.
ReplyDeleteLove the new blog header :-)
Ah, thank you! I won't admit how long it took me to teach myself how to do it! [it was definitely not 3 evenings worth of time] x
DeleteI've been planning on making some nautical lanterns out of leftover mason jars and love all the tips you included in this post! This turned out beautiful! I'd love it if you shared it over at The Makers link party going on at my blog right now, UpcycledTreasures.com. Hope to see you there!
ReplyDeletesuch a important information, i like your writing skills and everything about this blog just caught my attention.
ReplyDeleteThank you for sharing your product list which is used by you I will surly try these tips in future Automatic capsule filling machine suppliers
ReplyDeleteWe are a projected organization offering a full range of top construction companies in Pakistan services and investment management while maintaining a solid foundation of trust and mutual respect generated through a positive relationship with clients, architects, engineers, subcontractors, and suppliers.
ReplyDelete