I'm moving home soon, which although equally exciting and terrifying, has shifted my focus on to making my flat less of a show home. It has brilliant high ceilings and lots of wall space, so I have been looking for some art work to brighten the place up. It's been hard. Original and budget-friendly art work is really difficult to find, but as I continue my search, I decided to create some of my own, using simple materials and a slight variation of a technique learnt at school. Paper weaving! I've started with really simple piece to hang in the hallway and it's given me the confidence to try something a little more advanced and technical.
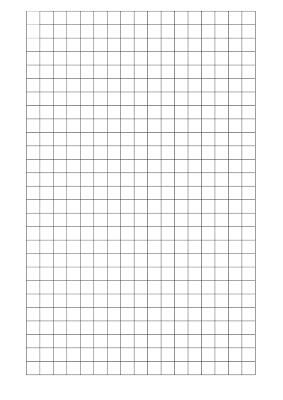
The basis starts with marking a grid on the back of the card. To make it much easier, I created a grid to print directly on to the back of my base card:
[right click to save on to your computer if you want to use this as a guide to print]
I love, love, love chevrons and at the moment, the colour combination of white, turquoise, pink and silver [as you may have guessed from my small blog change] in particular. As this art work is cheap and time friendly, I can change it should I grow bored of it [probably before I move] - I made this easy by filling in the squares before printing:
..and marked on the top row a slightly thicker line where I needed to make cuts to allow the card to be woven. I printed on to A4 white card:
...and with a craft knife, I made my cuts where needed.
Cutting 2cm thick strips of card [I needed 4 strips for each chevron row], I wove each strip through the cuts in rows. Using the coloured markings as my guide, each strip needed to go under the cut card where there were coloured markings:
Cutting 2cm thick strips of card [I needed 4 strips for each chevron row], I wove each strip through the cuts in rows. Using the coloured markings as my guide, each strip needed to go under the cut card where there were coloured markings:
...I continued down the rows, weaving each strip in turn:
...continuing until complete.
To neaten the edges, trim and hold securely in place if needed with tape or glue:
To neaten the edges, trim and hold securely in place if needed with tape or glue:
Voila. I've not yet found the frame I want to put it in, so I am resorting to my trusty backboard and bulldog clip hanging. I really like that the pattern looks less defined by the weaving from further away, and up close the technique can be seen clearly [and less neatly!]:


No comments
Post a Comment